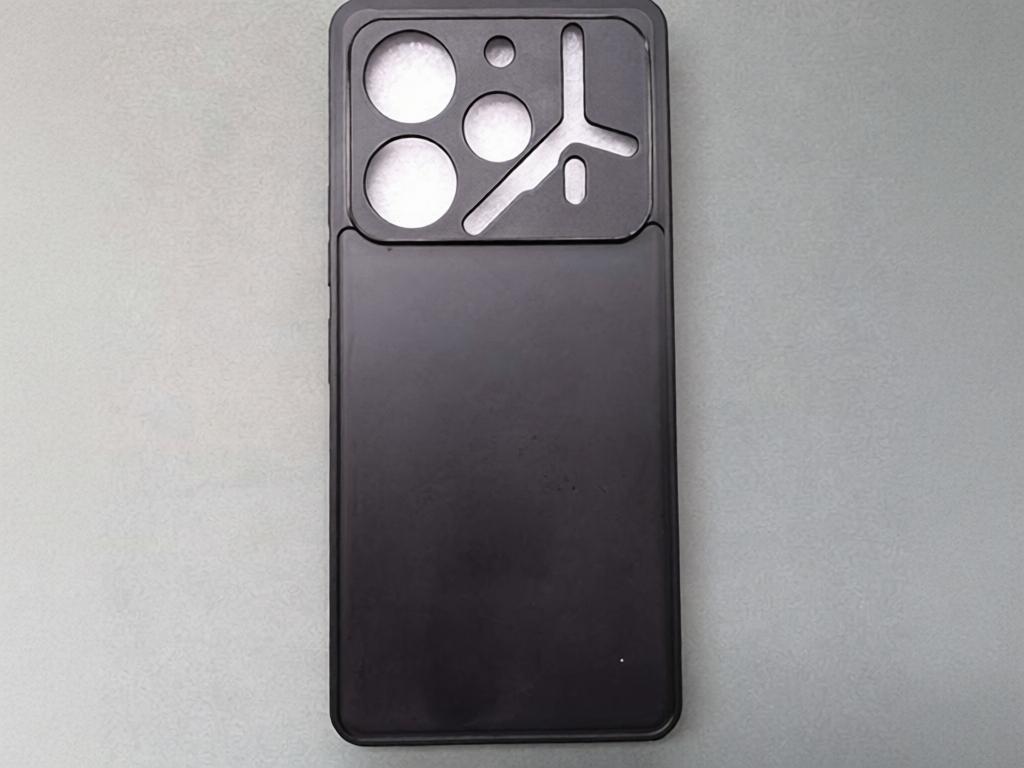
Typical TPU injection molded components
A TPU part may look fine after its first molding cycle, but that does not mean it is ready for mass production. Moisture in the resin can cause silver streaks in the next batch. Elastic recovery can shift dimensions after inspection. And flash at the parting line may come and go as process conditions fluctuate.
Stable TPU injection molding, therefore, demands far more than dialing in the right barrel temperature or injection pressure. Every decision should start with the resin grade and part geometry. Tool design and material handling must support those choices, and the validation method must prove that the entire system runs repeatably.
At the start of a project, you decide whether injection molding is the right process. At the end, you confirm whether that process can produce acceptable parts in volume — not just whether a single sample passes inspection.
1. Choosing the Right TPU Grade and Process
Thermoplastic polyurethane injection molding suits high-volume products that need lasting flexibility and wear resistance. Seals and caster wheels are classic examples because they rely on controlled elastic recovery.
1.1 Comparing Manufacturing Routes
Before cutting any tool steel, evaluate the available process routes.
Process Route
Best For
Main Limitation
3D-printed TPU
Early fit, form, feel, and flexibility studies
Printed properties may not reflect the chosen injection grade
Vacuum-cast urethane
Low-volume appearance or functional evaluation
Thermoset casting cannot fully replicate the injection process
TPU injection molding
Repeatable production with controlled geometry and material
Requires dedicated tooling and a validated process window
Silicone molding
Applications driven by temperature, sealing, or compression needs
Different tooling, curing, and material properties
Other molded TPEs
Projects with different priorities on cost, warranty, feel, or handling
May not deliver the specific TPU performance parameters
Note that “urethane injection molding” can also refer to processes involving thermoset polyurethanes. These materials cure through a chemical reaction and are not interchangeable with thermoplastic polyurethane (TPU). The key difference matters: TPU melts and processes on thermoplastic equipment, while thermoset urethanes do not.
1.2 Specify the Exact TPU Grade
Once you choose injection molding, the next step is selecting a specific TPU grade. TPU is not a single homogeneous material. Its chemistry drives environmental resistance, its hardness affects bending and release behavior, and its processing grade changes how the melt flows.
Polyester-based TPUs usually offer strong abrasion resistance and perform well in oily environments. Polyether-based TPUs, on the other hand, often go into moist conditions because they resist hydrolysis better. These are general trends, not universal rules. Always check the grade data sheet and run application tests.
Hardness affects far more than touch. Softer grades can deform during ejection, while harder grades may fail to bend or seal as required. Writing only “TPU 85A” on the drawing therefore leaves too much uncertainty. Two grades at the same hardness can flow and recover differently — especially after environmental exposure.
Your production specification should define the material clearly to prevent unapproved substitutions:
State the resin manufacturer, full grade name, and allowed hardness tolerance
Define the color system and whether regrind is allowed
Describe the service environment and the functional tests the part must pass
List the material certificates required for production release
2. Designing Parts and Tools for Stable Production
TPU flexibility can make some parts easier to eject, but it does not eliminate standard defects. The wall may stretch as the tool opens, or the part may stick during ejection. Even a brief deformation causes inconsistent dimensions or assembly forces.
2.1 Define Part Geometry and Critical Dimensions
Start design with functional dimensions. Some parameters you check on an unloaded part; others only make sense after assembly or compression. If elastic recovery affects a critical feature, the drawing should specify exactly when and how to measure it.
Keep wall thickness as uniform as the function allows. Thicker regions cool and shrink more slowly than the surrounding wall, which raises the risk of sinks or voids. Sudden thickness changes also alter local stiffness and affect recovery after ejection.
Use fillets to reduce stress concentration and help the melt flow smoothly around corners. Set draft angles based on the chosen hardness and draw depth, then adjust for surface texture and ejection direction. Soft TPU can sometimes strip over undercuts, but the sample must stretch without tearing and recover without permanent deformation. Deep or sharp undercuts may still require side actions or a geometry change.
2.2 Tool Design for Stable Fill and Ejection
The mold must support consistent filling and release. These points are especially critical:
Gate and runner design: Gate location should support fill and pack without leaving unacceptable residue. Restrictions in the feed system increase shear and may limit pressure transfer.
Ventilation: Add vents where melt flow tends to trap air — especially at flow ends and near inserts. Poor venting burns the material or leaves the cavity unevenly filled.
Parting line control: Small changes in parting surface condition cause intermittent flash, especially when melt conditions or pack pressure shift.
Cooling strategy: Uneven mold temperature changes surface finish and shrink patterns. It can also cause warpage or difficult ejection.
Mold surface: A highly polished surface is not always best for soft TPU. Some grades release more easily on a properly textured surface.
Ejection system: Use a large enough ejection area so the part takes the load evenly. Stripper plates support flexible edges, and air assist helps release vacuum suction.
Base the mold recommendations on processing data from the selected resin supplier. Grade and geometry together determine the gating path, vent locations, and the right mold-temperature strategy. Shrink also varies by project. Wall thickness and gate position drive the shrink pattern, while material condition affects the final result. Never finalize tool dimensions from a generic percentage.
3. Controlling the TPU Injection Molding Process
3.1 Keep TPU Dry Before Molding
TPU molding starts with material handling. The pellets are hygroscopic and absorb moisture from the air. Even when they look dry, invisible moisture changes melt viscosity and accelerates degradation. By the time bubbles or splay appear, the damage is already done.
Follow the resin supplier’s drying specifications rather than a generic time-and-temperature rule. Your production plan must also keep the material dry until it reaches the machine:
Verify the dryer meets the required dew point or humidity limit
Set an adequate hopper residence time without overheating the material
Protect dried material during transfer and limit exposure before molding
Define how opened bags and unused resin will be stored
3.2 Build a Repeatable Process Window
Once material conditions are under control, build the processing window. Barrel and nozzle temperatures must stay stable enough to melt the resin without excessive heat history. Too long a residence time raises degradation risk, and high shear accelerates damage and discoloration.
Match injection speed to the flow path inside the part. A long, thin flow path behaves very differently from a short, open cavity. Surface quality and trapped air tell you whether the speed is right. Screw speed and back pressure should produce a uniform melt without excessive shear. The goal is repeatable melt conditions — not copying one machine’s settings.
Packing affects dimensional convergence and sinks. Too little packing widens shrink variation. Too much packing causes flash, internal stress, or ejection problems. Cooling time must be long enough so the part withstands ejection loads without stretching or scoring.
A production-ready setup should record an acceptable operating range. A single “best” setting offers almost no protection when resin batches change or the job moves to another machine.
3.3 Link Process Settings to Part Results
Track part inspection data alongside the process settings so you can connect process changes to actual outcomes:
Compare part weight against the fill pattern
Record appearance and functionally critical dimensions
Watch whether dimensions stay stable across cycles
Confirm the required functional or assembly results
These observations tell you whether the process window is truly stable.
4. Evidence-Based Defect Diagnosis
Common injection molding defects signal that something in the production system is out of balance. Changing pressure or temperature before you understand the cause may mask the symptom without removing the root problem.
Defect
Check First
Possible Material or Process Cause
Possible Tool Cause
Splay or silver streaks
Drying records and exposure time
Moisture, overheating, or excessive shear
Restricted gate
Bubbles or voids
Defect location and section thickness
Moisture or inadequate packing
Heavy wall or poor venting
Flash
Exact location and cycle frequency
Low melt viscosity or over-packing
Damaged parting surface or poor seal
Short shot
Flow-end pattern
Low melt temperature or insufficient speed/pressure
Restricted gate, runner, or vent
Sticking or deformation
Ejection marks and release direction
Premature ejection or insufficient cooling
Insufficient draft, wrong texture, or weak ejection support
Black specks or discoloration
Residence time and purging history
Degradation or contamination
Dead spots in the hot-runner system
Dimensional drift
Measurement timing and conditions
Elastic recovery or unstable material condition
Uneven cooling or gate influence
The investigation order matters. Confirm when and where the defect occurs. Review material and equipment records. Inspect the relevant mold features. Only after you narrow the likely causes should you adjust process parameters.
After applying a fix, run enough consecutive cycles to confirm the defect is eliminated — not just temporarily reduced.
5. Process Validation Before Production Release
An acceptable sample proves the process can make an acceptable part. Production validation must prove it can keep doing so under representative conditions.
The trial run should use the approved resin, final mold configuration, and intended production equipment. If lead time or pre-production volume makes a full production mold premature, rapid injection molding can provide representative molded parts at this stage. For multi-cavity tools, every cavity’s results must be traceable. Inspect both during startup and after the process stabilizes. If a pause changes material residence time or exposure, assess whether you need to restart the process.
Validation should cover:
Stable multi-cycle runs: Record the full process window, not just the settings that made the best sample.
First-article inspection: Check function-controlling dimensions, confirm appearance, and compare against the drawing.
Defined measurement timing: Inspect dimensions after an agreed conditioning period to account for recovery or shrink.
Functional testing: Verify the intended use — seals may need leak tests, and flexible snaps may need repeated bending.
Material traceability: Link all inspection results to the resin lot and production batch. Retain colorant and cavity identifiers where relevant.
Control plan: Define what to monitor regularly and how often. Set defect limits and failure-response actions.
Change control: State what requires re-approval. Changing resin, tool, or machine — or operating outside the validated range — may trigger revalidation.
Prototype data has limits. A 3D-printed TPU prototype supports fit checks and flexibility indication, but it cannot reproduce mold shrink or gate effects. It also cannot validate ejection or the mechanical response of the final grade. Vacuum casting supports low-volume evaluation, but production release still requires representative injection molded parts.
The release question, therefore, is not “Does this part pass?” It is “Can the entire production system keep parts within the accepted range?”
6. Key Takeaways
Reliable TPU injection molding depends on a chain of interrelated decisions. Application needs define the grade. The grade shapes part and tool design. Material handling and processing determine whether that design is repeatable. Validation results decide whether the process can be released.
Avoid building tooling around a generic hardness spec, and never approve mass production on a single acceptable sample. Define the exact resin grade and the function it must perform. Then decide how to measure results and what evidence you need before production starts.
PartsMastery offers full support for custom injection molding — from DFM review and mold design through prototype runs and production parts. To evaluate a TPU project, send your CAD model with the intended grade or required performance. Note critical dimensions and estimated volume, and mention any appearance or inspection requirements that affect acceptance.
Frequently Asked Questions
At what volume does TPU injection molding become economical?
There is no universal break-even point. Complex tooling raises the upfront investment, larger parts increase material cost, and inspection adds ongoing expense. Compare the total cost against the number of parts you expect over the product life, versus printing or casting alternatives.
What information do you need to quote TPU injection molding?
Provide a 3D model and dimensioned drawing. Specify the TPU grade, or describe the required performance if the grade is not set. State the target hardness and order quantity. Mark critical dimensions and explain the acceptance tests. Mention any inserts or overmolding substrates as well.
Why do 3D-printed and injection-molded TPU feel different at the same hardness?
Hardness is just one of many properties. 3D printing creates a different internal structure, and print direction further changes the response. Wall geometry also affects stiffness and rebound. Before finalizing, always test the final injection grade in a representative molded geometry.
What records should you keep for production TPU?
Retain the approved material designation and link every resin lot to its production batch. Keep the validated process window and cavity-specific inspection results. Functional test records and approved changes should trace back to any revalidation decision.