





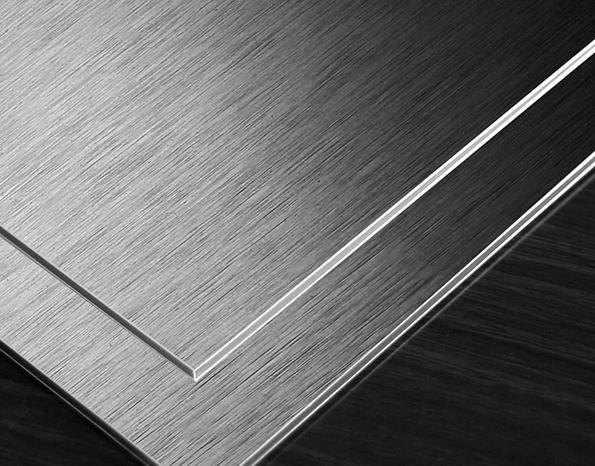
Brushing ranks among the most widely used surface finishing processes for aluminum parts. By running abrasive tools along a fixed direction, it creates uniform linear grain patterns that give metal a smooth matte satin finish. It also hides minor machining marks and resists fingerprints and light scuffs better than mirror-polished surfaces. For these reasons, it has become a go-to choice for industrial components, enclosures and decorative panels.
This guide breaks down the core principles, common application methods, step-by-step workflows and key quality control rules for brushed aluminum. It serves as a practical reference for both design engineers and production teams.
1. Core Benefits and Properties of Brushed Aluminum
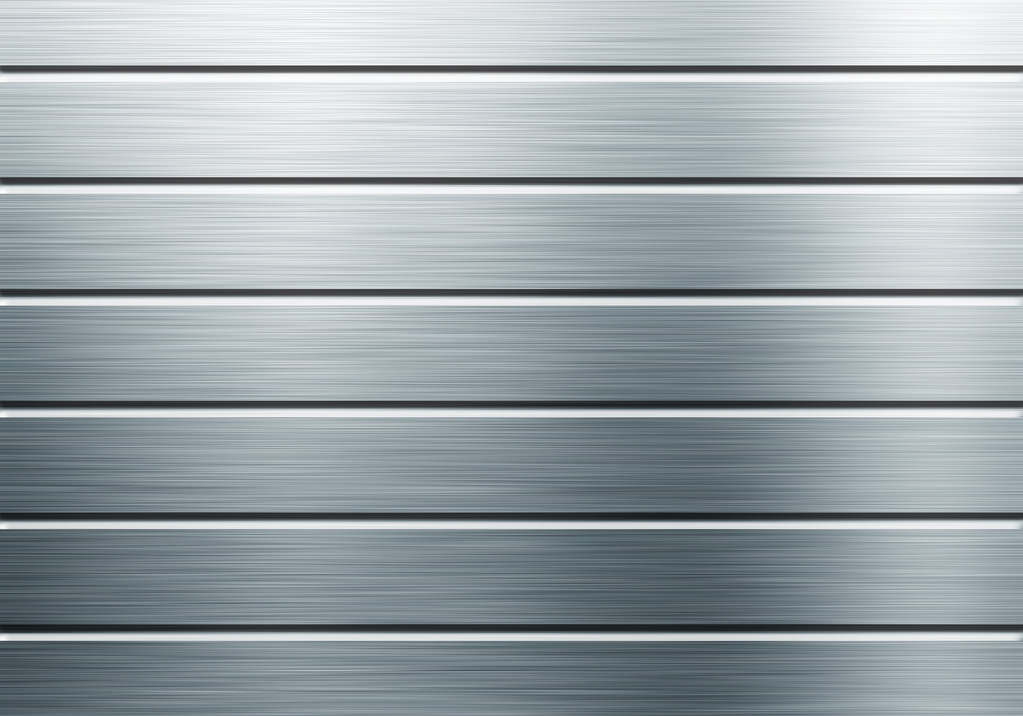
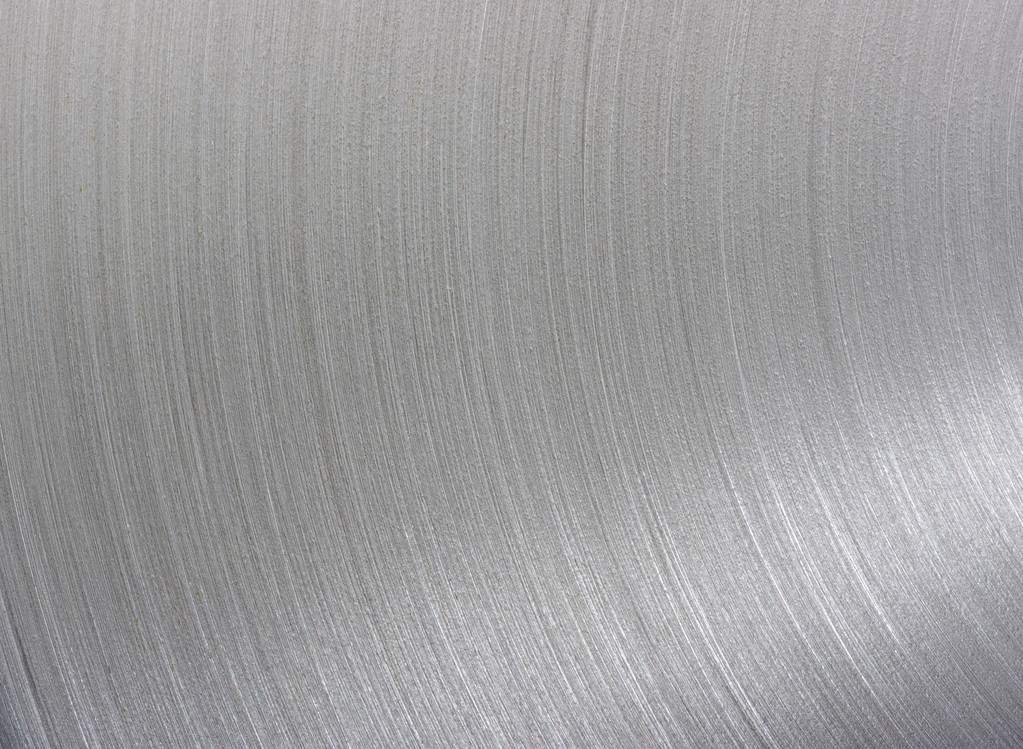
Brushing is a mechanical surface treatment that only changes the fine texture of the top metal layer. It does not alter the strength or structural properties of the base aluminum material. Put simply, it scrapes a thin uniform layer off the surface in one consistent direction to leave parallel grain lines.
Compared to other finishing methods, it offers four key practical advantages:
- Clean, professional appearance: Unified linear grain effectively covers tool marks, light scratches and slight material color differences, giving parts a refined industrial look.
- Low everyday maintenance: The textured surface hides fingerprints and small scuffs much better than smooth glossy finishes, so parts stay presentable with less upkeep.
- Highly customizable effect: You can adjust grain coarseness, depth and direction by changing abrasive grit size, feed speed and contact pressure.
- Excellent process compatibility: Brushed substrates pair seamlessly with follow-up treatments like anodizing, powder coating and electroplating to boost protection and visual appeal.
To help clarify the differences between common aluminum surface treatments, here is a quick comparison:
| Process | Surface Effect | Core Function |
|---|---|---|
| Brushing | Directional linear grain, matte satin texture | Enhance appearance, mask machining marks |
| Mirror polishing | Highly reflective, smooth glossy surface | Maximize shine and reflectivity |
| Sandblasting | Uniform non-directional grain, frosted matte | Reduce glare, improve coating adhesion |
2. Three Common Brushing Methods and When to Use Each
Not all brushing processes produce the same results. Depending on the equipment used and level of control, there are three main approaches. Each comes with its own strengths, costs and best-use scenarios.
2.1 Manual Brushing
Manual brushing is done entirely by hand using sandpaper, abrasive pads or small handheld power tools. Because it requires very little upfront equipment investment, it is a low-cost option for small runs and prototype parts. It also works well for touching up complex shapes or localized areas that are hard to reach with larger machines.
That said, this method has clear limits. Final quality depends almost entirely on the skill and consistency of the operator. Small changes in hand pressure or angle can create uneven grain depth or unwanted cross marks. For these reasons, manual brushing is rarely used for large-volume production where uniform appearance is critical.
2.2 Machine Brushing
Machine brushing uses automated equipment like belt sanders and flat-bed brushing machines to process parts. Compared with hand finishing, it maintains much steadier feed speed and contact pressure, so every part comes out with nearly identical grain. As a result, it is the standard choice for high-volume production of aluminum profiles and flat panels.
Even so, it has clear limitations. The process works best on flat or gently curved surfaces. It struggles to reach deep grooves, internal cavities and highly irregular 3D shapes evenly.
2.3 CNC Brushing
CNC brushing is the most precise and consistent option available. It uses computer-programmed tool paths to control exactly where the abrasive goes, how fast it moves and how much pressure it applies. Even parts with complex 3D curves can get perfectly uniform directional grain with this method.
Because every step is controlled by code, batch-to-batch consistency is extremely reliable. This makes it ideal for high-end appearance parts with strict visual standards. On the downside, the equipment and programming costs are higher, so it is usually not cost-effective for very small production runs.
| Method | Texture Consistency | Best For | Overall Cost |
|---|---|---|---|
| Manual brushing | Fair, depends on operator skill | Small batches, prototypes, local touch-ups | Low |
| Machine brushing | Good, stable batch performance | Flat panels, regular shapes, mass production | Medium |
| CNC brushing | Excellent, precise repeatable grain | Complex curves, high-precision appearance parts | Relatively high |
3. Step-by-Step Brushing Workflow for Consistent Results
Getting a perfect brushed finish takes more than just rubbing abrasive on aluminum. No matter which processing method you use, following a standard three-step workflow will help you avoid defects and get uniform results every time.
3.1 Surface Preparation Before Brushing
The condition of the raw aluminum surface has a huge impact on the final brushed finish. Skipping preparation almost always leads to visible defects later on.
Start with a full cleaning and degreasing. Remove all cutting fluid, grease, dust and fingerprints, since these contaminants can cause dark stains or uneven grain during grinding. After cleaning, move on to deburring and edge chamfering. Sharp edges can tear abrasive material and leave messy, irregular lines. Lastly, pre-grind any deep scratches or noticeable dents. Standard brushing cannot erase deep defects, so you must level them out before moving to the final grain step.
3.2 Graded Brushing Process
Most high-quality brushed finishes use a two-step coarse-to-fine approach to build up the final texture gradually. Starting with a coarser abrasive lets you remove surface flaws quickly and set the main grain direction. Move the tool in smooth, straight strokes that overlap slightly, and try not to pause mid-stroke — pauses can leave small dips that stand out in the final finish.
Once the base grain is uniform, switch to a finer grit abrasive or non-woven pad for the finishing pass. Always run the finer abrasive in the exact same direction as the first step. This softens the sharp edges of the grain lines and creates a smoother, more refined satin look. Working against the grain or in circles will create visible cross marks, so be careful to stay consistent.
3.3 Final Cleaning and Protection
Once brushing is complete, wipe the part thoroughly with a soft cloth and gentle cleaner to get rid of leftover abrasive dust and fine metal shavings. Inspect the surface under good lighting to make sure the grain is even and free of defects. After inspection, apply a protective treatment right away. Bare brushed aluminum oxidizes quickly and picks up fingerprints easily, so prompt protection keeps the finish looking fresh.
4. Key Quality Control Rules to Avoid Common Defects
Brushing may seem simple, but getting perfectly uniform results across large surfaces and full production batches takes careful attention to detail. Most quality issues come down to three core factors: grain direction, process parameters and abrasive condition.
4.1 Keep Grain Direction Fully Consistent
Nothing stands out more than mismatched grain direction on a brushed part. On a single component, you should always stick to one uniform direction for every pass. For rectangular flat panels, running the grain along the longest edge usually looks the cleanest and most natural.
This rule matters even more for products made of multiple separate parts. If one panel has horizontal grain and the next has vertical grain, the final assembly will look unpolished and low-quality. To prevent this issue, specify grain direction clearly on engineering drawings before production starts.
4.2 Common Defects and Prevention
| Defect Type | Root Cause | Prevention Solution |
|---|---|---|
| Cross grain / stray marks | Direction drift, uneven abrasive grit, misaligned re-clamping | Use positioning fixtures, work in one direction, replace abrasives regularly |
| Heat marks / discoloration | Excessive local friction, dwelling too long in one spot, poor heat dissipation | Control feed speed, avoid dwelling, add air cooling if needed |
| Uneven grain depth | Unstable pressure, uneven part surface, local abrasive wear | Maintain steady pressure, flatten mounting surfaces, inspect abrasives frequently |
4.3 How to Choose the Right Abrasive Grit
The grit size of your abrasive material directly controls how coarse or fine the final grain looks. The right choice depends on both the starting condition of the part and the look you want to achieve.
Coarse grits in the 120–240 range remove material quickly. They work well for stripping thick oxide layers and erasing heavy machining marks, but they leave very noticeable deep grain lines.
For a balanced industrial finish, go with medium grits from 320–600. This range creates the classic satin look, and it is the most widely used option for standard aluminum components.
High-end decorative parts call for fine grits of 800–2000. These produce an extremely smooth, subtle texture that feels silky to the touch and has a very refined appearance.
5. How to Protect Your Brushed Aluminum Finish
A bare brushed surface will not stay looking good for long on its own. It picks up fingerprints easily, oxidizes over time, and can scratch from regular handling. Choosing the right protective treatment will extend its life and keep it looking clean. There are three common options, each suited to different use cases.
5.1 Anodizing (Best for Industrial Use)
Pairing brushing with anodizing is by far the most popular combination for industrial aluminum parts. The anodizing process grows a hard, protective oxide layer directly on the metal surface. This layer drastically improves corrosion resistance, scratch resistance and weather durability, while still letting the brushed grain show through clearly.
Keep in mind that anodizing will slightly alter the brightness and color tone of the brushed finish. Before starting full production, always run a small sample batch to confirm the final look matches your requirements.
5.2 Clear Coating (Best for Large Panels)
Clear lacquer, UV-cured coatings and electrophoretic clear films all create a physical barrier over the brushed surface. They block air and moisture to prevent oxidation, and they also keep fingerprints from sticking directly to the metal. This option is moderately priced and works especially well for large exterior panels and enclosures.
One thing to note: most clear coatings add a slight glossy sheen. This can shift the original flat matte look of raw brushed aluminum. Over long periods of heavy use, the coating can also wear down or chip in high-contact areas.
5.3 Wax or Oil (Best for Short-Term Indoor Use)
If your parts will stay indoors and see light handling, a simple coat of protective wax or light machine oil can provide basic short-term protection. This method is extremely low cost, and it barely changes the look or feel of the original brushed texture.
The main downside is durability. Wax and oil wear off easily with regular touching and cleaning. For long-term use or outdoor applications, you will need a more robust protection method like anodizing or clear coating.
6. Tips for Brushing CNC Machined Aluminum Parts
Brushing is a very common secondary process for CNC-machined aluminum parts. A little planning around process order and part design will help you get better results and avoid unnecessary extra costs.
6.1 Plan the Right Process Order
For best results, schedule brushing right after CNC machining and deburring, but before final protective treatments like anodizing or coating.
Be sure to protect any high-precision mating surfaces and threaded holes before brushing. Abrasive dust can get stuck in threads and cause assembly issues later. For extremely tight-tolerance features, you can also do the final machining pass after brushing to eliminate any dimensional changes from material removal.
If anodizing will follow brushing, move parts to the next step quickly. Letting brushed parts sit for too long before protection can cause uneven natural oxidation, which leads to color differences in the final anodized finish.
6.2 Design Parts With Brushing in Mind
A few small design choices can make brushing much easier and improve final quality. To start, stay away from very deep, narrow slots and blind holes. Abrasive pads cannot reach fully into tight spaces, so those areas will have incomplete grain and rounded over edges.
You should also add generous radii to all sharp external corners. Pointed corners wear down much faster than flat surfaces during brushing, which can leave uneven edges or even grind through thin features entirely.
For large, thin flat panels, adding small stiffeners on the back side is a smart move. These reduce flex and vibration during clamping and brushing, which helps prevent part deformation and uneven grain.
7. Frequently Asked Questions
Will brushing change the dimensional accuracy of my parts?
Standard decorative brushing removes only a very thin surface layer, usually a few microns deep. For general-tolerance parts, the impact is negligible. For ultra-high-precision mating surfaces with tight tolerances, evaluate the material removal amount in advance and reserve appropriate machining allowance.
Can all aluminum alloys be brushed?
Most common aluminum alloys like 6061, 7075 and 5052 work well with brushing. Pure aluminum and soft aluminum alloys take a finer, more uniform grain. Harder high-strength alloys also work but cause faster abrasive wear. Die-cast aluminum with internal porosity is generally not recommended, as pores will become more visible after brushing.
Can scratches on brushed surfaces be repaired?
Light superficial scratches can be fixed by re-brushing the area with a fine grit abrasive along the original grain direction. Deep scratches require re-working from coarser grit upward through finer grits. For scratches in highly visible areas, local repair may leave a noticeable boundary. In most cases, re-brushing the entire surface gives the best result.
Summary
Brushing is a cost-effective surface modification process for aluminum that improves both appearance and practical performance. To get the best results, match the right brushing method and protection scheme to your part size, structure, appearance requirements and production volume.
PartsMastery provides one-stop CNC machining services for all types of aluminum materials, including brushing, anodizing and other finishing options. We support full-lifecycle needs from prototype validation to low-volume production, backed by professional DFM manufacturability analysis and full-dimensional inspection to guarantee consistent delivery quality for every batch.