





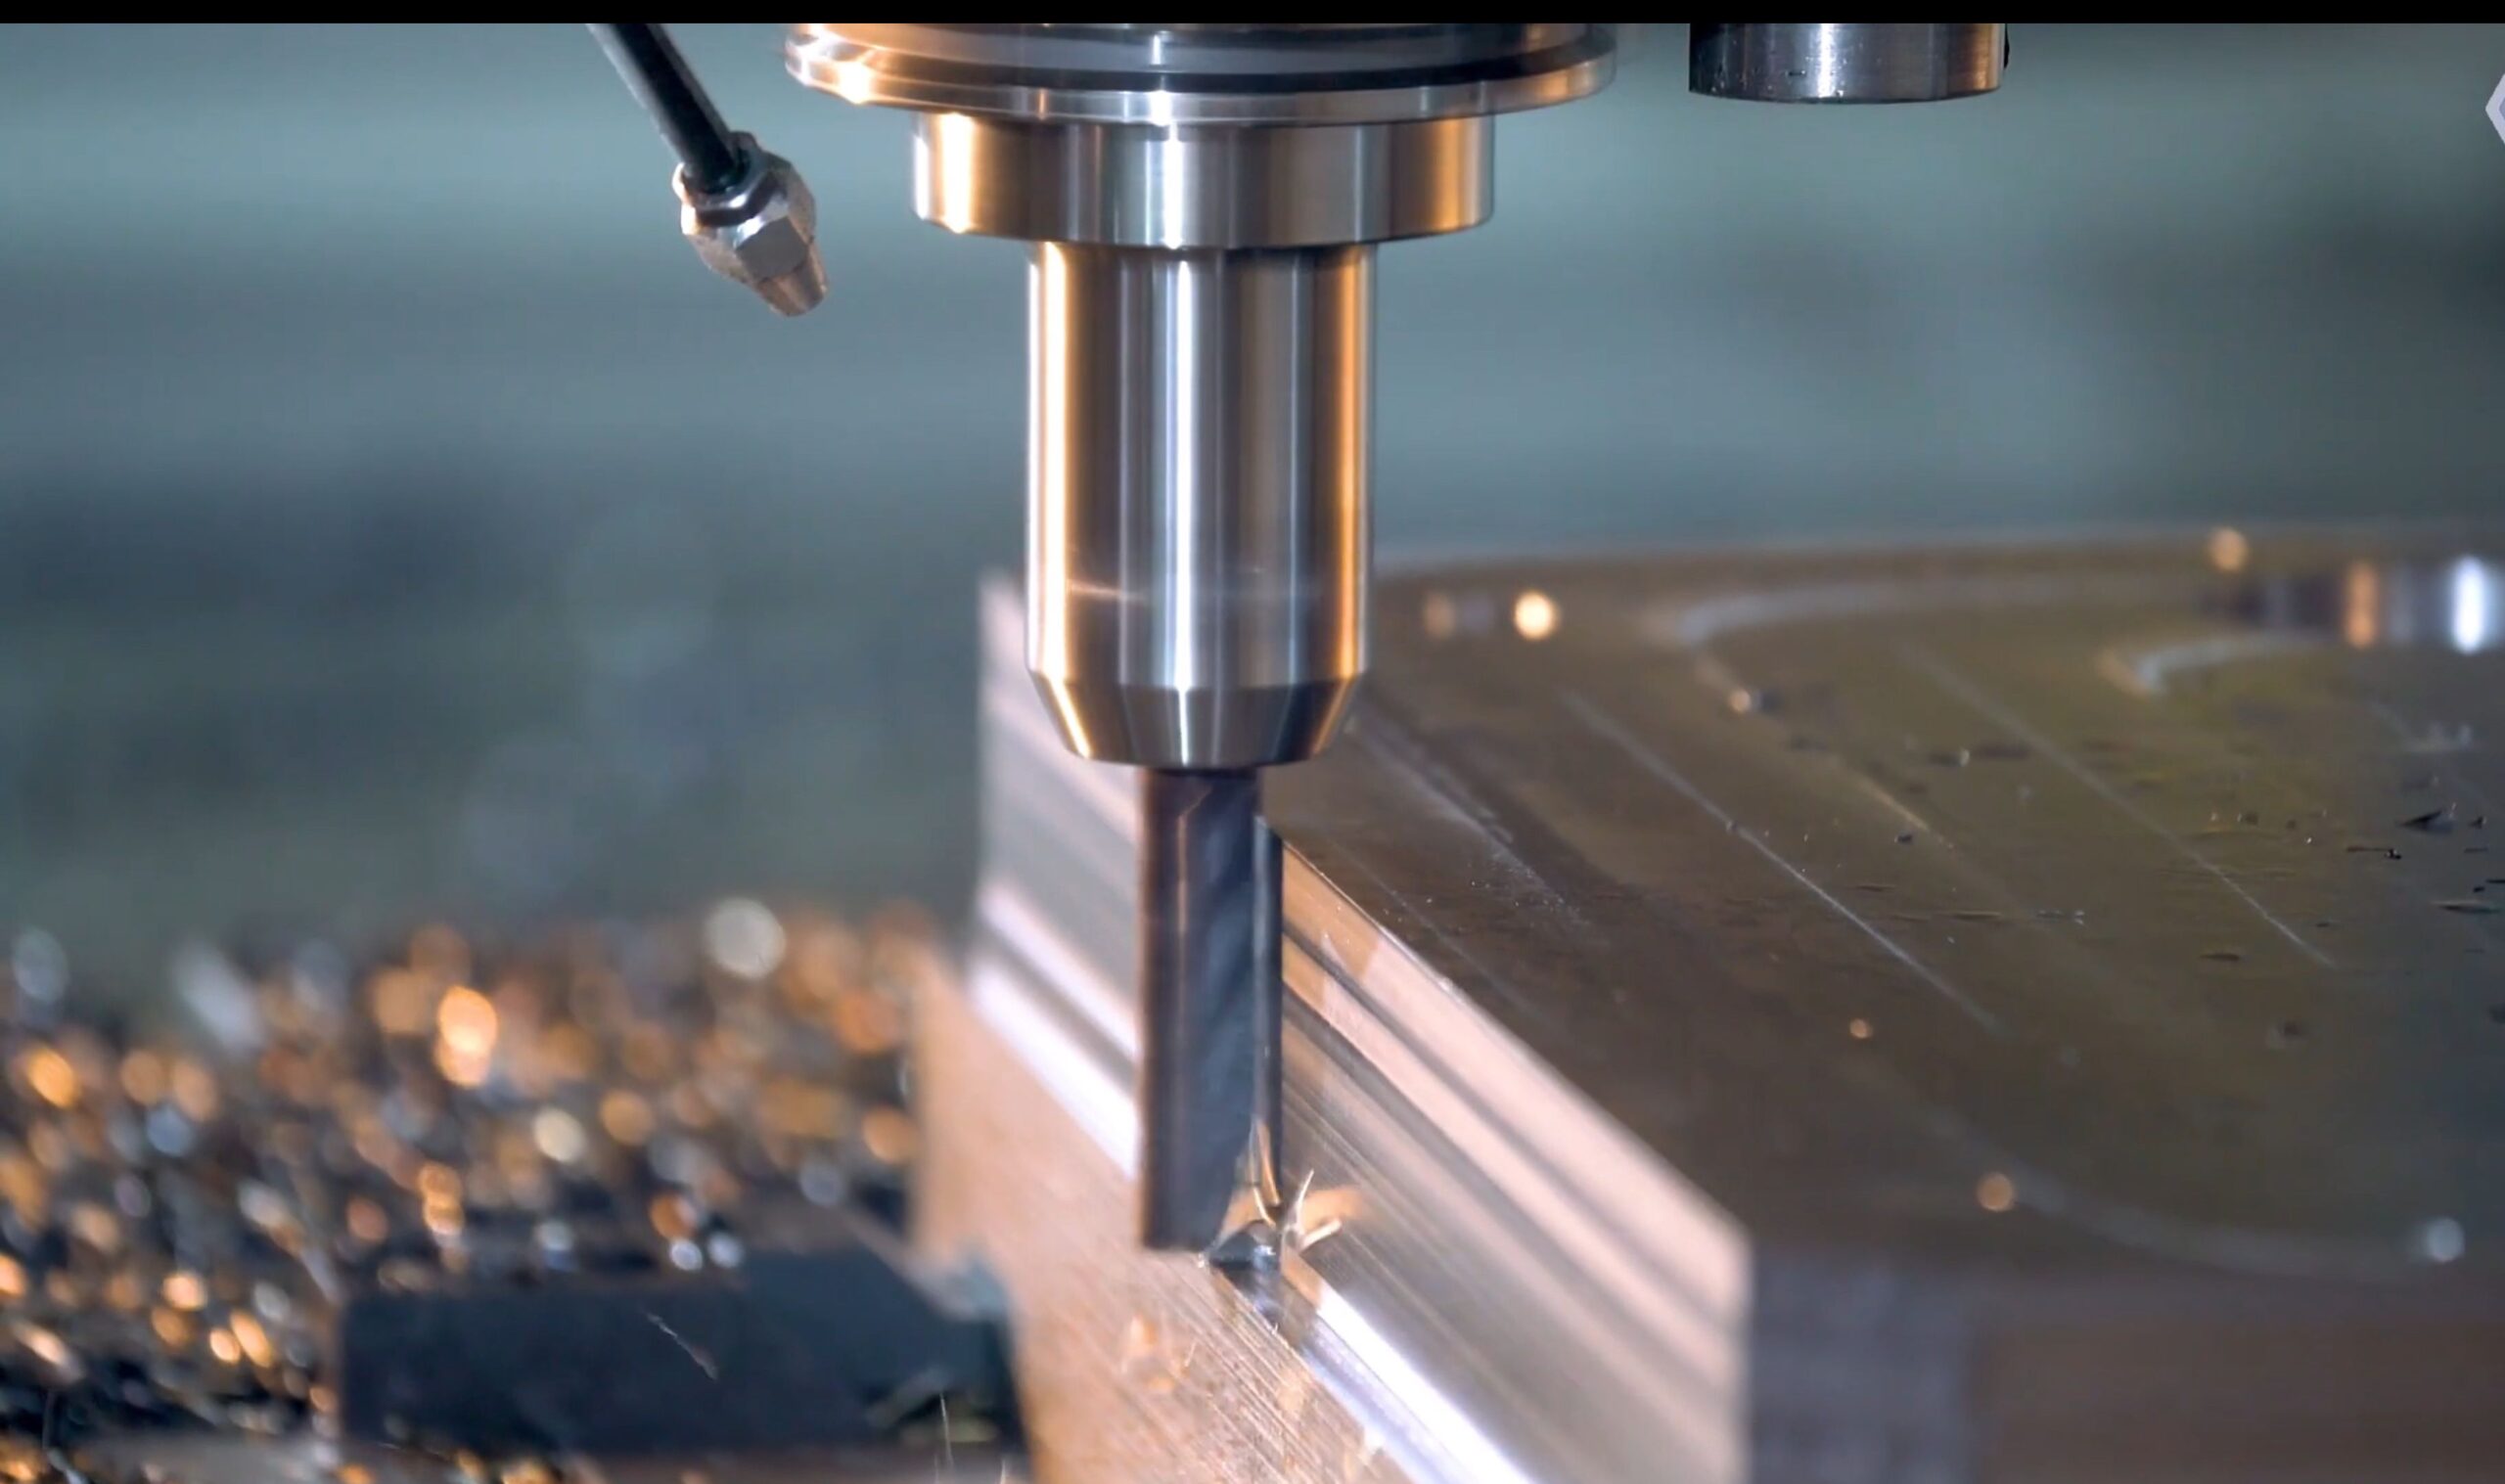
3-axis CNC milling is the most common and well-established subtractive manufacturing process in modern industry — and it forms the base for nearly all other CNC machining methods. Put simply, it moves a rotating cutting tool along three right-angle linear axes (X, Y, and Z) to remove material from a fixed workpiece. This creates precise features like flat surfaces, pockets, hole arrays, and part contours.
In this guide, we break down everything you need to know about 3-axis milling: how it works, what machines and materials it uses, design best practices, and how to choose the right process for your part. Whether you work in product design, engineering, or procurement, you’ll find clear, actionable guidance here.
1. How 3-Axis CNC Milling Works
1.1 Core Movement Basics
First, let’s cover the three axes that define the process. The X-axis moves the tool left and right, the Y-axis moves it forward and backward, and the Z-axis controls up-and-down depth. Together, they let the tool follow precise, programmed paths across the workpiece.
Unlike manual milling, the CNC system controls every movement automatically from a digital file. This means you can make identical part after identical part with very little variation. Operators still handle setup, tool changes, and quality checks, but they do not need to guide the tool by hand.
1.2 Key Limits of the Process
Because the tool always points straight down (perpendicular to the worktable), it can only reach features that face upward in a single setup. If a part has features on its sides, bottom, or at an angle, you will need to reposition the part manually or use a higher-axis machine. This is the single most important tradeoff to understand when planning a project.
2. Common Types of 3-Axis Milling Machines
Not all 3-axis machines work the same way. Each style fits different part sizes, materials, and production volumes. Here are the four most common types you will find in machine shops.
2.1 Vertical Machining Centers (VMCs)
Vertical machines are the standard workhorse of most shops. Their spindle points straight down, so operators have a clear view of the cutting area. They work best for flat parts, brackets, housings, and mold inserts that fit on a standard worktable. They are also easy to program and set up, which keeps costs low for small runs.
2.2 Horizontal Machining Centers (HMCs)
Horizontal machines have a side-facing spindle. This lets chips fall away from the part naturally during deep cuts, which makes them ideal for heavy material removal and box-shaped parts. Many also come with pallet changers to cut down on setup time for high-volume runs. On the downside, they cost more and require more complex fixturing than vertical models.
2.3 Gantry Milling Machines
Gantry machines use a bridge-style frame that travels over a large, fixed worktable. They handle very large, heavy parts like big mold bases, aerospace panels, and equipment frames that would not fit on a standard VMC. Because of their large size, they require careful calibration to hold tight tolerances across the full travel range.
2.4 CNC Engraving / Router Machines
These lighter-duty machines run at very high spindle speeds for shallow cuts in soft materials. They work well for wood, plastic, thin aluminum, and composite sheets for signage, enclosures, and simple prototypes. They are not built for heavy cutting in hard metals, so they cost much less than industrial machining centers.
3. Compatible Materials & Typical Machined Features
3.1 What Materials Can You Cut on a 3-Axis Mill?
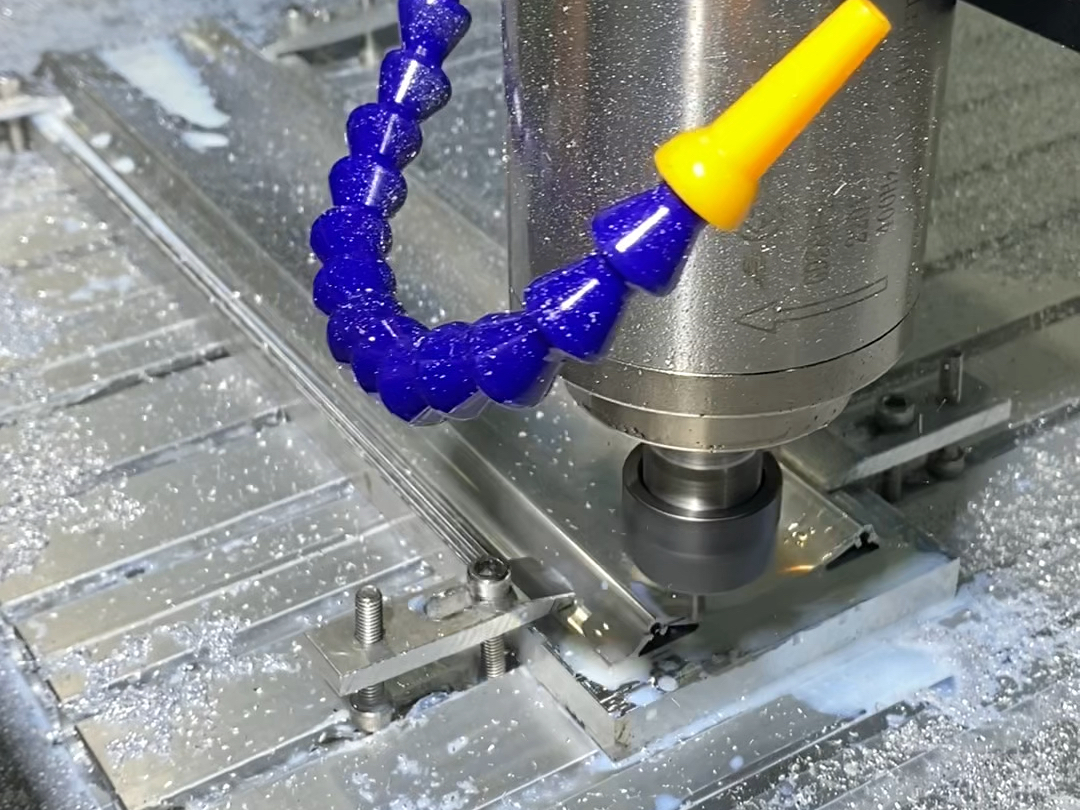
3-axis mills work with almost any machinable material, from soft plastics to hard tool steel. The table below breaks down the most common options and key points to watch for during machining.
| Material Group | Common Grades | Key Machining Notes |
|---|---|---|
| Aluminum Alloys | 6061, 7075, 2024, 5052 | Fast to cut; watch for burrs and thin-wall deflection |
| Carbon & Tool Steels | 1018, 4140, 4340, Cr12MoV | Higher cutting forces; tool wears faster; machine before hardening when possible |
| Stainless Steels | 303, 304, 316L, 17-4 PH | Work-hardens easily; use sharp tools and plenty of coolant |
| Copper & Brass | C1100 copper, H62 brass, free-machining brass | Soft and sticky; control surface finish; free-machining grades run fastest |
| Engineering Plastics | POM, PEEK, nylon, PC, PTFE | Prone to heat deflection; use sharp tools; dry hygroscopic grades first |
| Composites | FR4, carbon fiber, glass fiber sheets | Abrasive to tools; use dust extraction; watch for delamination |
3.2 Standard Features You Can Make
3-axis mills handle a wide range of everyday part features. For example, you can machine flat datum surfaces, outer part contours, and stepped faces. You can also drill, tap, and bore precision holes aligned with the Z-axis. Finally, you can cut pockets, slots, and simple 3D curved surfaces — as long as the tool can reach them from above.
4. Typical Parts & Industry Applications
3-axis milling appears in almost every sector of manufacturing. It works best for flat or boxy parts where most features sit on one or two sides. The table below shows common uses by industry.
| Industry | Common Parts | Core Benefit |
|---|---|---|
| Automotive | Brackets, flanges, cover plates, fixture parts | Consistent results at low per-part cost for production runs |
| Industrial Automation | Machine bases, wear plates, mounting panels, jig parts | Rigid, stable parts with fast turnaround for custom equipment |
| Electronics | Heat sink housings, test fixtures, connector mounts | Tight dimensional control for aluminum and copper thermal parts |
| Medical Devices | Equipment housings, instrument trays, handles, brackets | Smooth, repeatable surface finishes for biocompatible materials |
| Tool & Mold Making | Mold bases, cavity inserts, stamping dies, fixture bases | High precision on flat and pocketed features for hard tool steels |
| Aerospace | Structural brackets, panels, on-board equipment housings | Reliable accuracy for high-strength aluminum and titanium parts |
5. Advantages and Limitations of 3-Axis Milling
5.1 Key Advantages
First, 3-axis milling offers unmatched reliability. The process uses simple, proven mechanics, so shops can run it consistently with fewer points of failure. Second, it costs less than 4-axis or 5-axis machining for compatible parts. Machine time, programming, and fixturing all come at a lower price point.
Third, programming and setup happen much faster. CAM software generates toolpaths quickly, and operators can set up standard vises and workholding in minutes. This speed makes 3-axis milling perfect for rapid prototyping and design iterations. Finally, the process produces highly repeatable results for features cut in a single setup, with no indexing error between operations.
5.2 Key Limitations
On the other hand, 3-axis milling has clear limits. Most obviously, you cannot machine side features, angled surfaces, or undercuts without repositioning the part. Each extra setup adds time, cost, and a small amount of alignment error.
Deep, narrow pockets also cause problems. You need long tools to reach the bottom, and long tools deflect more easily, which worsens surface finish and increases breakage risk. For the same reason, complex 3D shapes with overhanging geometry do not work well on a standard 3-axis machine.
6. DFM Best Practices for 3-Axis Milled Parts
Good design for manufacturability (DFM) will cut cost, speed up delivery, and reduce defect rates. Follow these five rules to get the best results from 3-axis milling.
6.1 Keep Features Accessible From One or Two Sides
Wherever possible, place all machined features on the top and bottom faces of the part. Each extra side you add requires a new setup, and each setup adds cost. If you must include side holes or features, try to align them to a single rotation so you can use a simple indexing fixture.
6.2 Use Generous Internal Corner Radii
Rotating end mills cannot cut perfectly sharp inside corners. Smaller radii require smaller tools, and smaller tools run slower and break more easily. For lowest cost, use a radius of at least 1 mm, and prefer 3 mm or larger for non-critical corners. You can also add relief corners to allow square mating parts to fit correctly.
6.3 Avoid Deep, Narrow Pockets
As a rule of thumb, keep pocket depth no more than three times the pocket width. Deeper, narrower pockets force you to use long, fragile tools and make chip evacuation difficult. If you need more depth, use a stepped pocket design to add rigidity and improve cutting conditions.
6.4 Maintain Uniform Wall Thickness
Very thin walls will flex under cutting forces and spring back after you remove the part from the fixture. Minimum recommended wall thickness is 1 mm for aluminum, 1.5 mm for steel, and 2 mm for most plastics. Add ribs to thin sections to boost stiffness without adding much weight.
6.5 Design For Easy Workholding
Always leave a flat, rigid area to clamp the part. For small or complex shapes, add sacrificial tabs or a removable base that you can machine off later. This simple step eliminates the need for expensive custom fixtures for low-volume runs.
7. 3-Axis vs. 4-Axis vs. 5-Axis: How to Choose
More axes do not always mean a better process. The best choice depends on your part geometry, tolerance needs, and budget. The table below compares the three options at a glance.
| Process | Movement | Best For | Main Tradeoff |
|---|---|---|---|
| 3-Axis Milling | X, Y, Z linear motion only | Flat parts, brackets, housings, simple cavities | Fixed tool direction; needs multiple setups for multi-side parts |
| 4-Axis Milling | X, Y, Z + one rotary axis | Cylindrical parts, radial holes, wrapped features | Only rotates around one axis; cannot do compound angles |
| 5-Axis Milling | X, Y, Z + two rotary axes | Complex 3D surfaces, deep cavities, multi-sided precision parts | Higher programming and machine-hour costs |
In short, start with 3-axis milling if your part fits the process. Upgrade to 4-axis or 5-axis only when extra setups would cost more than the extra machine time. For most flat and prismatic parts, 3-axis milling will deliver the best balance of speed, quality, and cost.
8. What Affects Cost and Lead Time?
Four main factors drive the final price and delivery schedule for 3-axis machined parts. First is part complexity. More features, tighter tolerances, and extra setups all add machining time and programming work. Second is material choice. Exotic alloys, hard metals, and specialty plastics cost more per kilogram and run slower on the machine.
Third is tolerance and surface finish requirements. Tighter tolerances require extra finishing passes, more inspection time, and temperature control — all of which add cost. Fourth is production volume. Higher volumes spread the fixed setup and programming cost across more parts, which lowers the price per unit. Secondary operations like anodizing, plating, or heat treatment will also add a few days to the lead time.
9. Frequently Asked Questions
How accurate is 3-axis CNC milling?
A well-maintained vertical machining center can typically hold ±0.02 mm to ±0.05 mm positional tolerance on features cut in a single setup. Bored holes can achieve even tighter tolerances. Actual results will depend on machine condition, part size, material, and fixturing quality.
Can you make complex 3D shapes on a 3-axis mill?
You can machine many curved surfaces and sculpted shapes as long as the tool can reach them from directly above. If the shape has undercuts, overhangs, or features on multiple sides, you will need a 4-axis or 5-axis machine instead.
Is 3-axis milling good for prototypes?
Yes, it is one of the most popular prototyping methods. It works with production-grade materials, requires no hard tooling, and you can revise the design simply by updating the CNC program. Lead times of 1–5 days are common for simple prototype parts.
Summary
3-axis CNC milling is the foundation of modern precision machining. It may not have the flexibility of multi-axis systems, but it delivers unbeatable value for the vast majority of flat, prismatic, and single-sided parts. When paired with good DFM practices, it offers fast turnaround, consistent quality, and predictable costs.
PartsMastery provides full-spectrum CNC machining services including 3-axis milling, 4-axis/5-axis milling, turning, and finishing operations. We support projects from early prototype through low-volume production, with professional DFM feedback and full dimensional inspection included for every order.